Let’s be honest, homemade shampoo sounds like a joke. I’ve personally never met someone who’s going around raving about their magical homemade shampoo. That’s because, quite unfortunately, these endeavors usually end in dry, frizzy, or greasy hair. In the end it’s too frustrating, too complicated, and we’re back to scanning the shampoo aisle at Target within the week.
Truth be told, I had little faith in this project. But I knew that my current method of trying a new shampoo every 3 months hadn’t gotten me very far… so what did I have to lose? I was tired of spending $50-70 on so-called “natural” hair products that still contained questionable ingredients. I figured that if the goal of a shampoo is to be both natural and effective, then there has to be a way to make it at home. So I whipped together this shampoo using oils that I knew already were good for my hair, including jojoba, coconut, and castor oil.
And guess what? It works!
I thought it would take me months to get down the perfect recipe. But by the end of that first wash, I could feel that my hair already felt ten times cleaner and lighter than it had before.
Although I have a lot of hair, my individual hair strands are pretty thin, so I have to be mindful to not use hair products that weigh it down too much. This shampoo is perfect for me because it cuts through the built up grease on my hair to really give it a good wash. I can imagine that it would be pretty effective on thick hair as well for the same reasons.
So yes, now I am that person that raves and raves about her homemade shampoo… because it works.
Shampoo Ingredients
The effectiveness of a shampoo is going to depend entirely on your hair’s needs and the ingredients involved. This peppermint and rosemary shampoo is a great starting point for those looking to make their own hair products at home due to its versatility. All of the ingredients provide your hair with the nutrients that it needs without weighing down your hair. So let’s get into the individual ingredients and why they’re so good for your hair.
Olive Oil – This versatile oil conditions, repairs damaged hair follicles, and restores strength to dry hair strands.
Coconut Oil – The natural fatty acids in coconut oil help to stimulate hair growth by providing nutrients to the scalp and hydrating the hair shaft.
Castor Oil – The antibacterial and anti-fungal properties of castor oil can do wonders to promote a healthy scalp, which can in turn reduce dandruff.
Sunflower Oil – Since this oil is rich in so many essential vitamins, including vitamins K, E, B1, and C, it is extremely effective in nourishing your scalp. It’s hydrating, improving strength and shine in otherwise dry, frizzy hair.
Jojoba Oil – Rich in vitamins B, C, and E, jojoba oil promotes hair strength and growth. Although it’s not a true oil, but an oil-like wax, jojoba oil mimics our skin’s natural sebum, which allows it to hydrate our skin and hair without clogging pores.
Peppermint Essential Oil – Peppermint is a natural vasodilator, meaning that it improves blood flow to whatever area it is applied to. When used in the shower, blood rushes to the scalp and stimulates follicle regeneration and hair growth.
Rosemary Essential Oil – Rosemary oil, like peppermint, also promotes blood circulation in the scalp.
Rosemary Tea – Rosemary tea has often been used as a rinse to gently cleanse the hair shaft and prevent infection (and dandruff) on the scalp.
Lye – This chemical compound is essential to the process of soap-making. Although it can be dangerous to work with in its natural state, lye turns into soap when correctly mixed with oil. The end product is safe to use on hair and skin. We’ll get more into how to properly mix lye in the next section.
An Overview of Soap-Making
The process of soap-making is actually quite easy once you get the hang of it. Lye, another term for sodium hydroxide, is combined with a mixture of oils in a chemical process known as “saponification.” The lye breaks down the oils into fatty-acid metal salts, which yield the hardness and lather unique to soap. Since the lye is completely taken up by the oils, there is no lye leftover after saponification. This is why you’re not going to find “sodium hydroxide” written on the ingredients list of your soap bar.
Common Terms
Cold process – the method of soap-making that involves mixing oils and lye without heating the oils
Curing – the process of allowing the soap to sit in a cool, dry place for an extended period of time (typically 3-4 weeks) while the excess water evaporates from the bar
Gel Phase – the phase after the soap has been poured into the mold in which it heats up to 180° and takes on a gelatinous appearance
Saponification – the process in which lye interacts with oils to create soap
Superfat – a percentage of oil leftover that hasn’t been turned into soap in the saponification process
Trace – the point at which the lye and oils have fully emulsified to create a thicker texture (named for the ability to trace lines into your soap batter)
Oils and Butters
Let’s take a minute to talk about how to choose the types of oils and butters that go into your soap. Each oil has it’s personality, so your soap bar is going to exhibit different properties based on the oil you choose. For a full list of oils and butters, their properties, and what percentage to use in your recipe, click here.
Now think about the texture of the oil or butter you plan to use. A hard oil is going to produce a harder bar, which can produce a longer shelf life, whereas a softer oil will increase the lather of the soap. Hard oils and butters are those that are solid at room temperature (think coconut oil, shea butter, mango butter). A soft oil will be liquid at room temperature (olive oil, palm oil, castor oil, etc.). Because of this, the types of oils and butters that go into your soap recipe will depend entirely on how you want your soap to look and feel.
A great bar of soap is made up of two or three base oils, then a variety of specialty oils based on the maker’s preferences. Palm, coconut, olive, and castor oils are all great oils to use as your base. Incorporate these into your recipe at 20-30% each. Then choose your specialty oils, like rice bran, jojoba, sweet almond, shea butter, and more. These can all be incorporated at 5-15% each.
Once you have determined what oils you want to use in your recipe, the next step is to determine your desired superfat level, then plug those numbers into your Lye Calculator to calculate the amount of lye needed.
Understanding Superfat and SAP Values
To make a truly luxurious soap bar, you’re going to want to “superfat” your soap. To superfat the soap means to leave a little bit of oil leftover that’s not been saponified by the lye (in other words, you’re giving your soap an extra boost of oils). These unsaponified fatty acids allow your soap to still retain the hydrating qualities of the oils. Typically, most soap-makers will superfat their soap to between 3-20%, depending on the utility of the soap. Keep in mind that a lower superfat will yield a harsher soap while a higher superfat will yield a softer soap.
The SAP value is a measure of how much lye is needed to turn oil into soap. This is represented in the equation below.
(oil weight) x (SAP value) = sodium hydroxide weight
So in essence, the SAP value is the total percentage of oils (100%) minus the desired superfat. If your desired superfat is 5%, this can be represented as
SAP = 1 – 0.05
SAP = 0.95
Don’t worry, you won’t have to do the math every time. Just plug in the weight of your oils and your desired superfat level into a lye calculator like this one and use the exact amount of lye calculated. It’s super important to use a kitchen scale when measuring out your lye and oils in order to get accurate results, otherwise you might end up with soap that doesn’t cure correctly.
The Process
The process of soap-making actually doesn’t require much hands-on time. First, you mix your pre-determined amount of lye into your water and let that rest while it cools back down to room temperature. Then you heat up all of your oils (minus essential oils) over the stove until all the hard oils have melted into the mixture, and then you add your cooled lye solution. You can then blend this with an immersion blender for 3-5 minutes until the soap has reached trace. At this point, you can incorporate additives like seeds and essential oils into the mixture. You then pour the mixture into a mold of your choice and allow it to sit for 48-72 hours, or until the soap is hard enough to remove from the mold without damaging the shape. Then you allow the soap to cure for 3-4 weeks before using.
How to Handle Lye Safely
Lye (sodium hydroxide) can be a very dangerous chemical compound if not used correctly. If it comes into contact with your skin or eyes, it can cause painful burns, permanent damage, and blindness. Luckily, it’s not too difficult to stay safe while working with lye if you use the right safety precautions and equipment.
Before opening your lye, you’ll want to make sure that you have the appropriate equipment on hand. Make sure to dress in long sleeves, long pants, and closed-toed shoes. Then don a face mask, eye goggles, and thick rubber gloves.
To activate the lye, you’ll want to use a container that won’t dissolve under the extreme heat. I use a polypropylene plastic #5 measuring pitcher because it is famously resistant to heat. When pouring the lye, remember to always ALWAYS pour the lye into the water, not the other way around. Otherwise, the lye will expand and explode, potentially causing some serious burns. Make sure that when you pour your lye, you do so in a well-ventilated area. I always like to set my pitcher in the sink so that any drops or spills can just be washed down the drain with water.
Soap-Making Equipment
When gathering your soaping supplies, make sure that you purchase highly durable plastics, like polypropylene plastic #5, so that the plastic doesn’t break down and contaminate your soap. Since you’re using some pretty harsh chemicals, you’ll want to dedicate all of your supplies to soaping and label them so they don’t accidentally get used in the kitchen. Below is a list of supplies you’ll want to gather.
2-3 Heat-Safe Containers
Kitchen Scale
Immersion Blender
1-2 Silicone Spatulas
Kitchen Thermometer
Stainless Steel Pot (for melting solid oils)
Molds
Now that you’ve gathered all of your supplies, let’s get started.
Step-by-Step Instructions
Step 1:
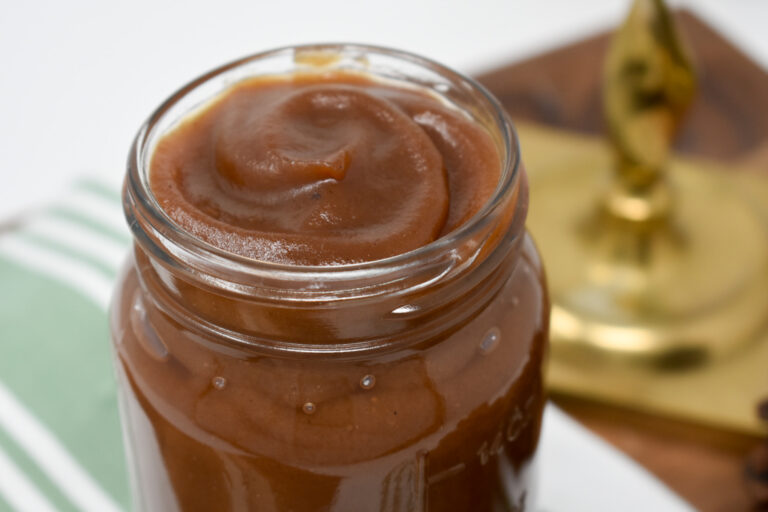
Start by making the rosemary tea. I used organic fresh rosemary leaves and steeped them in 240g of hot water for 20 minutes.
Step 2:
Remove the rosemary leaves. Now you’re going to use the tea to make the lye solution. Make sure that you’re using one of your heat-safe pitchers for this. Place the pitcher and tea at the bottom of your kitchen sink (or other tidy, ventilated area).
Measure out the exact amount of lye crystals needed using a kitchen scale, then slowly pour this into your tea, stirring slowly and continuously with a silicone spatula. Let it sit for 30-40 minutes or until it has cooled down to 110-120°.
Step 3:
Measure out all of your oils (minus essential oils- these will be added later), then combine into a stainless steel pot over low heat. The purpose of this is to melt the solid oils so that they fully dissolve into the rest of the mixture.
Do not let your oils heat up to greater than 100° since this can denature the healthy proteins found in these oils. Remove the mixture from the heat as soon as all of the oils have liquified.
Step 4:
Carefully pour your lye solution into the oil mixture. Using an immersion blender, blend the mixture for 2-3 minutes until the desired level of trace is met.
Light trace will have the consistency of cake batter. This is great for those looking to make decorative swirls of color in their soap. Keep in mind that your soap will take a little longer to cure if set at light trace.
Heavy trace will have the consistency of pudding. This level of trace speeds up the curing process and allows you to make peaks at the top of your soap.
Medium trace, as the name conveys, is somewhere in the middle. This is what most beginner soap artisans aim for when they first start soap-making.
Step 5:
Once you have reached the desired level of trace, measure out your essential oils and add them to the batter. Use a silicone spatula to fully incorporate them into the mixture.
Step 6:
Pour your soap batter into your molds. This recipe makes exactly enough to fill one standard-sized 42 oz rectangular soap mold like this one. If you’re wanting to make your soap into a variety of different shapes, you can purchase silicone soap molds on Amazon or Brambleberry.
Let the batter set, covered, for 48-72 hours, or until you can remove the soap without damaging the shape.
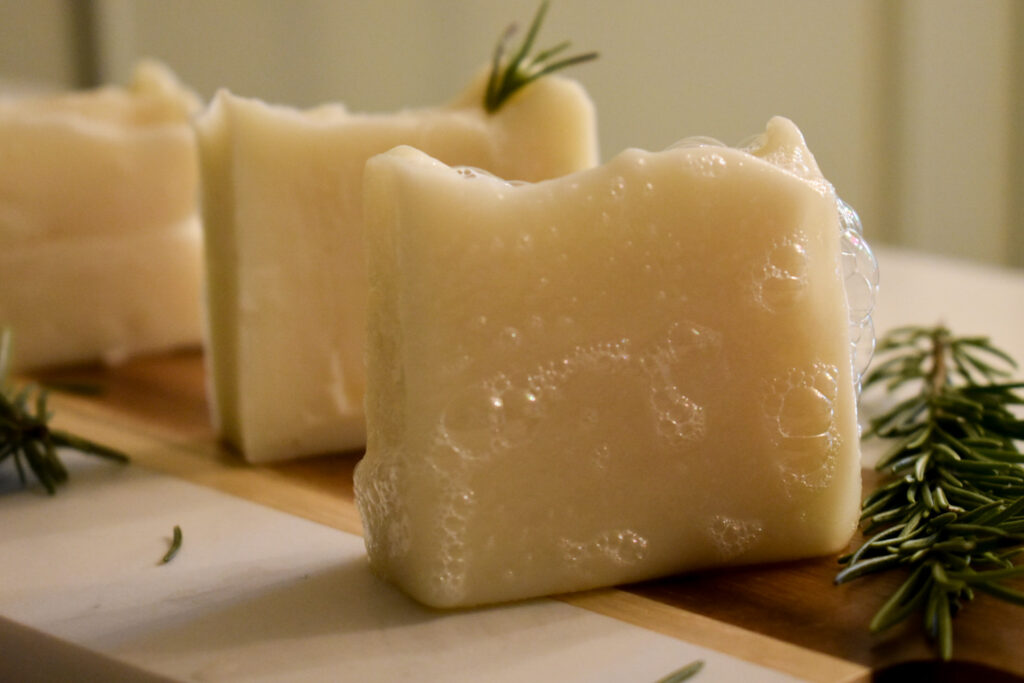
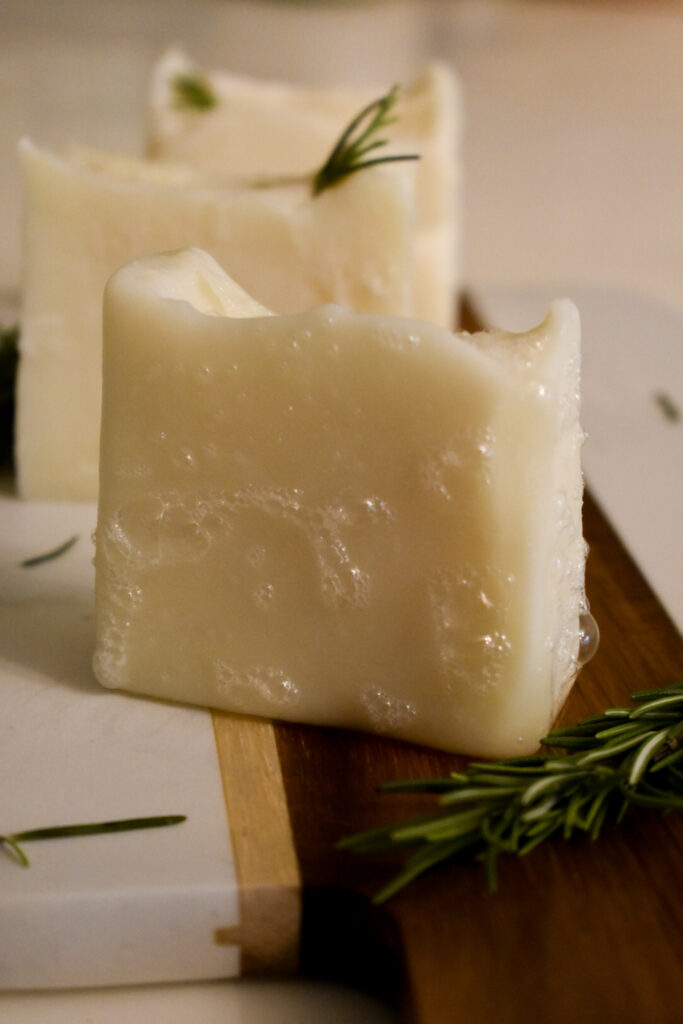
Step 7:
Remove the soap from the mold. It should be solid but slightly soft at this point. Carefully slice the soap into 8 bars, each about 1.5 inches wide. Set these aside in a cool, dry place to cure for 3-4 weeks. Once the soap is hard enough to your liking, they are ready to use!