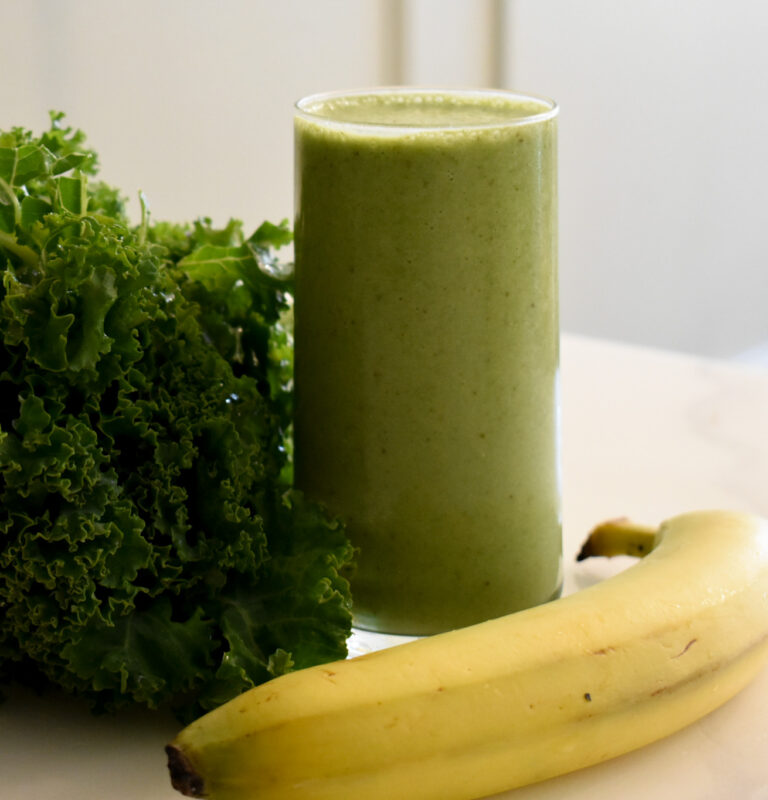
Energy-Boosting Matcha Smoothie
There are very few recipes that I come back to as often as this energy-boosting
Learning how to bake homemade sourdough bread is the cornerstone to adopting an artisan lifestyle. For me, it was the first step in my journey to eliminate the toxins that are all-too prevalent in our grocery store food. Earlier this year, a friend of mine lent me a half-cup of her sourdough starter, which I used to throw together my first loaf of sourdough bread. To be fair, it was lumpy, awkward, and a bit flat, but once I took that first bite I knew that I could never go back to store bought bread. Not to mention that the process of making the bread–the kneading, the stretching, the folding–was all incredibly therapeutic. I was hooked from the very first loaf, and I’ve been baking this bread once a week ever since. While I am no sourdough expert, I’ve made enough loaves in the last few months to feed a small village and I feel confident in sharing this recipe with all of you.
If you’re anything like me, you might be a bit overwhelmed by the process. After all, baking sourdough can be fairly time-consuming. There continues to be a mind-boggling variety of recipes on the internet with differing proofing times, types of stretch-and-folds, shaping techniques, and more. With all this information, it can get really confusing to know who to listen to. I’m here to tell you that I was in the exact same spot–but here’s what I’ve learned.
Baking sourdough is an art, not a science. Since we all don’t live in labs where every external factor is perfectly controlled, we have to simply grow accustomed to the needs of our dough and adjust the recipe when necessary. All that to say, I’ve found that most loaves can still be delicious even if slightly over- or under-proofed.
If you’re at all interested in tackling this recipe, know that it is attainable, enjoyable, and highly rewarding!

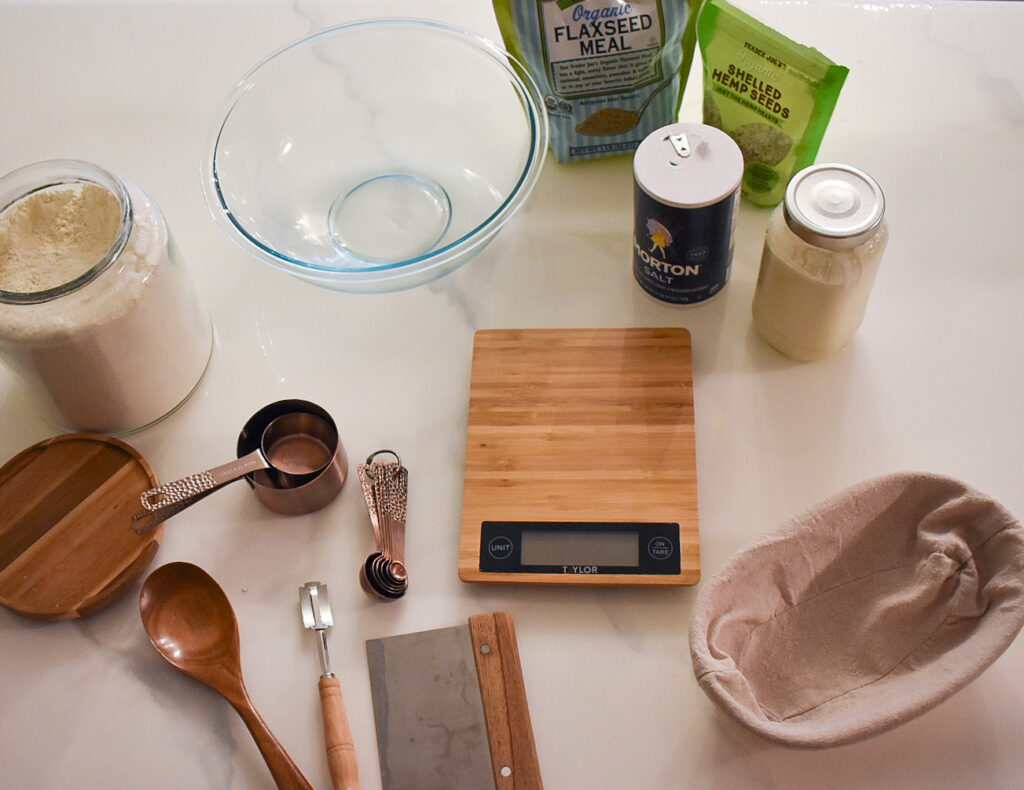
The beautiful truth about sourdough bread is that it only calls for 4 simple ingredients: flour, water, salt, and starter.
While you can use just about any type of flour that you have in your pantry, I would recommend using an all-purpose or bread flour. Anything finer (like pizza flour) can make your loaf incredibly dense and chewy. I like to use Trader Joe’s Unbleached Organic All-Purpose Flour (organic and unbleached makes for a noticeably richer flavor).
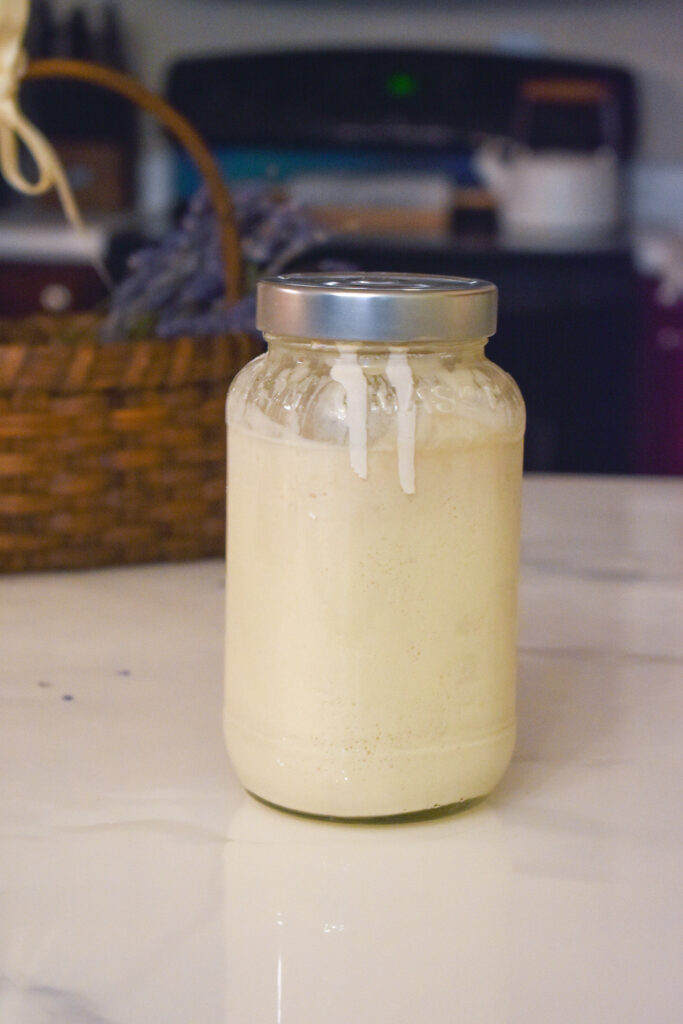
A good starter is the basis of your sourdough bread. In essence, a starter provides the environment for colonies of yeast and healthy bacteria to flourish within a mixture of flour and water. These colonies, when fed appropriately and allowed time to ferment, provide your bread with that deliciously tangy flavor that we’re after.
If you don’t already have a starter, you have three options.
Now, before we get into the details, let’s go over some definitions.

So now that we’ve gone over the basics, let’s get baking!
When feeding your sourdough starter, keep in mind the 1:1:1 ratio (1 part starter, 1 part flour, 1 part water). Before feeding, make sure that you discard half of the starter. Leave the starter on the counter for 4-8 hours (depending on how warm your home is) to ferment. When the starter is ready, it will get bubbly and double in size. Discarding half prevents the starter from overflowing during the fermentation process.
P.S. There are plenty of delicious sourdough discard recipes out there, so don’t feel you like you always need to dump this down the sink!
Pull out your kitchen scale and set the unit to grams. Make sure to zero it once your empty bowl is placed on top.
Mix 100g of mature starter with 330g of lukewarm water. Stir gently until the starter has completely dissolved into the water. If you want to add in any nuts or seeds, you can sprinkle those in now.
In a separate bowl, measure out 480g of flour. Gradually add your starter and water mixture to the flour, stirring with a wooden spoon until it is thoroughly combined. The dough should be thick, lumpy, and shaggy.
Measure out 15g of salt and fold it into the dough until well incorporated.
Cover the dough with a wet towel or cling wrap and let it sit out on the counter for 15-20mins. This period of hydrating the dough is called autolysing (see above).
Wet one hand under running water and uncover your dough. Take ahold of one side of the dough and stretch it up and away from the bulk of the dough, pulling it as far as it will go before it rips. Give the bowl a quarter turn and repeat until all four sides have been stretched. These stretches help to strengthen the gluten, so your dough will be very pliable to begin with and will strengthen up with each stretch.
Cover and let rest for 15-20mins. Then repeat 1-2 more times.
Your bulk fermenting time will vary depending on the temperature of your home. If it’s the middle of summer and you lack AC, you might only need to let it sit out for 4 hours. If it’s a little chilly inside, it might need the full 12 hours. I’ve found that 8-9hrs tends to be the sweet spot for a room-temperature home.
During this time, keep on eye on your dough! Once the dough has doubled in size but still maintains it’s rounded edges on the sides, it’s ready to be shaped.
Sprinkle flour onto a clean, dry surface.
Remove your dough from the bowl by inserting your hands on either side and pulling up. Gently place the dough topside-down onto your floured surface.
Shape the dough by folding in two opposite sides into the middle. Give the dough a quarter-turn and fold the remaining two sides into the middle. If you are making an oval-shaped loaf, you can stop here. If you want a boulle-shaped loaf, fold in the four corners and tuck them securely in the middle.
To create surface tension, roll the side closest to you away from you, then drag the whole loaf back towards you.
Pick up your loaf and drop it face-down into a floured banneton.
Place your loaf and banneton into a plastic grocery bag (or cover with cling wrap) and place it into the fridge. You’ll know your loaf is ready when it has doubled in size once again.
Place your Dutch Oven into the oven and preheat it to 500 degrees
Once you’ve determined that your dough is ready to go, remove it from the fridge and flip it out of the banneton onto a sheet of parchment paper (P.S. in the photos here, I used aluminum foil because that’s all I had. While it works, I would not recommend the aluminum foil since it can cause your dough to overheat and burn on the bottom)
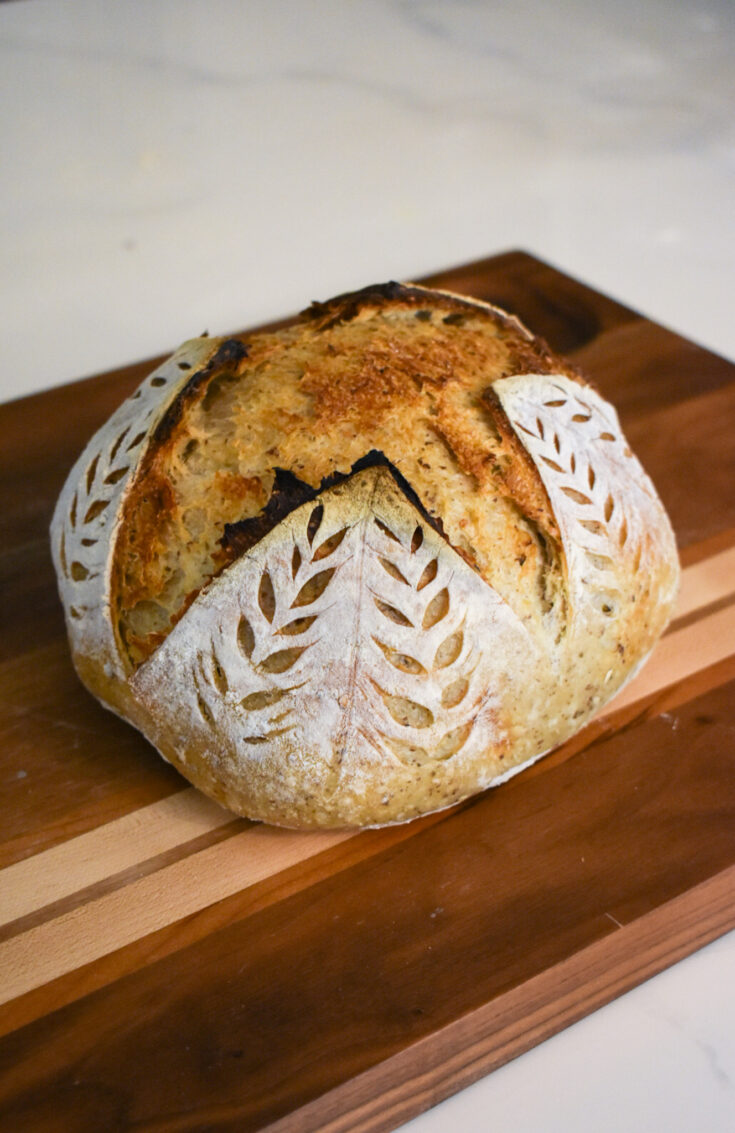
Using a lame, razor, or sharp knife, score the dough by adding some decorative cuts to the surface and one or two large utility cuts. If you’re new to scoring and need some inspiration, there are plenty of scoring designs and tutorials on youtube!
Remove your Dutch Oven from the oven and using the parchment paper, carefully place the scored dough inside. Cover with the lid and replace it in the oven. Let it cook at 500 for 20 mins.
Once 20 mins has elapsed, drop the temperature to 475 and remove the lid. The loaf should have risen significantly in the oven and an “ear” or exaggerated edge should be visible near your utility cut. Continue to bake for 25 more minutes.
You’ll know your sourdough bread is fully cooked once it has a warm golden-brown crust on the top. At this point, remove it from the oven and let it rest for at least one hour before slicing into it.
This sourdough recipe is time tested, reliable, and adored by many. It just takes four simple ingredients: flour, water, sourdough starter, and salt!
The best advice I can give you is to invest into a kitchen scale. You can buy one for only $15 at Target and it will save you the headache of having to work with approximate measurements. Without a scale, there's a good chance that your ratios won't come out right and you'll be left with a loaf that never rises or is overly-dense when baked.
There are some who will tell you that you can test if your starter is ready by dropping a little into a cup of water and seeing if it floats. I'm telling you, I've tried this before and, even though it was "ready" by this standard, my dough never rose. You'll know your starter is ready when it looks light and bubbly, and has risen significantly from it's starter point.
There are very few recipes that I come back to as often as this energy-boosting

Recently, my husband and I have been on a health kick that has inspired us